How to Create a Delicious Chocolate Chip Cookie In Illustrator
- August 12th, 2010
- Tutorials
Cookies, also referred to as biscuits, have been enjoyed worldwide for centuries. They are a beloved bakery item that comes in a wide range of flavors and aromas, making it difficult for anyone to resist their deliciousness.
In this easy-to-follow tutorial, I will walk you through the steps to create a stunningly detailed cookie illustration utilizing Adobe Illustrator. With the help of this guide, you will be able to create a beautifully realistic cookie that will make your audience’s mouths water. By the end of the tutorial, you will have the skills to not only create a cookie illustration, but also be able to customize it to your liking by experimenting with different shapes, colors, and textures. So, grab your baking sheet and let’s get started on this sweet adventure together!
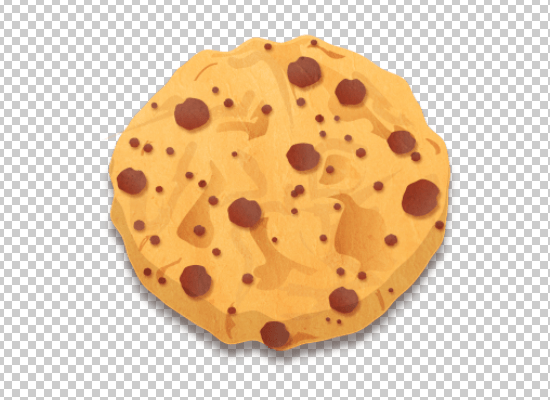
Final Delicious Chocolate Chip Cookie Result
Step 1
Open Adobe Illustrator and set up a new document, 600 by 600 pixels.
Step 2
Press “L” to select the Ellipse Tool and draw a circle with default settings applied (hold down the Shift key to create a perfect circle) mine is about 300 by 300px.
Go to Effect > Distort & Transform > Roughen and enter these settings:
(10px for the Size, 3in for the Detail, Absolute and Smooth checked).
Go to Object > Expand Appearance.
Step 3
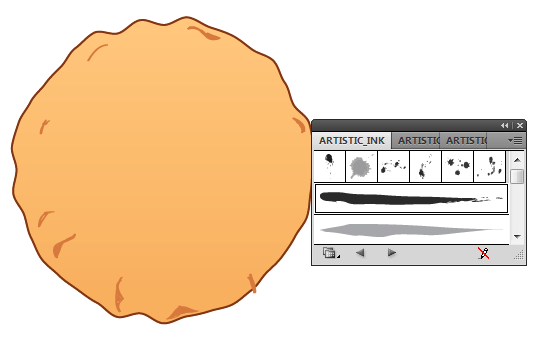
Once you’ve expanded this path, give it a 1pt #83320A stroke and fill with a vertical (Angle: -90 degrees) gradient from #FFC77D to #F8B15E.
Set #D87A3A as your stroke color and “none” for the fill, press “B” to select the PaintBrush Tool and start drawing some little cracks on the cookie. That’s easy to do even using mouse.
Click on the Brush Libraries Menu > Artistic > Artistic_Ink (you can select any other artistic brush) and select “Calligraphy 1” brush.

Make #EA9C49 your stroke color and start painting shadow paths on the cookie.

Select the Pen Tool (P) and draw some random shapes filled with any color (for now).
Now fill all these paths with gradient from #D6526 to #F8B15E. Make sure that they all have different Angle setting to create a illusion that they have different depth.
Select every element on the artboard but the main cookie path and reduce their opacity to 80%.
Step 4
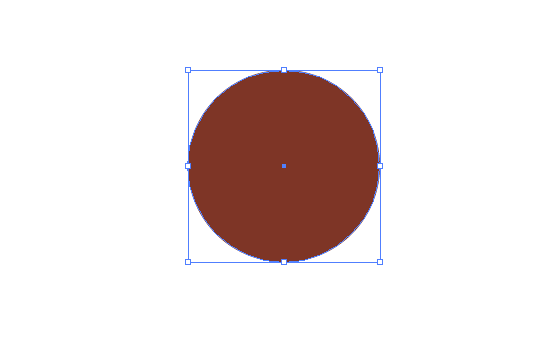
Good, now it’s time to draw some little chocolate crumbs. For this, somewhere on your art board draw a 12 by 12px ellipse filled with #7F3221.
Apply the Roughen effect once again with these settings:
Expand the appearance of this path and drag it into the Brushes panel to create a brush from it. Check the Scatter Brush and click ok, then enter these settings:
Once you’ve created this brush select the Paintbrush Tool and start drawing on the cookie to fill it with chocolate crumbs.
Select them all and go to Object > Expand Appearance to create multiple paths.
Fill them all with gradient from #9B6E68 to #7F3221 (Angle -90).
Go to Effect > Stylize > Drop Shadow and enter these settings (Color: #7F4025) :
Select one chocolate crumb, make a much bigger copy of it and place it somewhere on the cookie.
Now make multiple copies of this path, rotate them change their sizes and width and place them all over the cookie.
Select the main cookie path, press “Ctrl + C” and then “Ctrl + F” twice to create two copies of that path. Select the top copy and move it up by 20px.
With this copy selected, hold down the “Shift” key and click on the second copy to select them both.
Click on the Minus Front button in the Pathfinder panel.
With the resulting path selected press “Shift + Ctrl + [ “ to make this path the top one. Fill it with #603913 and remove any stroke.
Reduce the opacity of this sublayer to 20% and set the Blendidng Mode to Multiply (inside the Transparency panel).

Step 7
Select the whole cookie; grab the top, middle handle of the bounding box, and squash the cookie just a little.
Select the basic path of the cookie, go to Effect > Stylize > Drop Shadow and enter these settings: (color: 442D27)
Step 8
For the last step we have to bring this illustration to Photoshop.
Once you files is opened and rasterized. Import the paper texture from the source files.
Hold down the Alt key and click between the “Paper” and te “Cookie” layer to create a clipping mask.
Set the Blending of the “Paper” layer to Overlay and reduce the opacity to 50%.

End Result
We’re done!


